Friday, July 31, 2015

5 for Friday


fiveforfriday2_thumb[3]

Divider 1


I am still busy making things and organizing my new classroom. This week, I made a "No Names" holder for papers that don't have names on them. The white board is actually the front plate of a drawer that we pulled out when we remodeled. The "No" and "Names" labels are printed from a Schoolgirl Style set. I used 1 inch blue ribbon around the edges and I got the blue chevron clothespins from Walmart.

Divider 2


This is a small metal table that I have had forever. It was done in shades of brown and orange. I spray painted it an aqua color and I am going to see if I have a spot I can use it in my classroom.
Divider 3


I went up to my classroom this week to work on labeling things. I organized my books and got the labels on the bins. I have most of the Math manipulatives labeled also.

Divider 4

As I organize my classroom, I have been making labels to go along with my manipulatives. I finished them this week and posted them on Teachers Pay Teachers. I made them in four different chevron colors: turquoise, lime green, blue and gray.


Turquoise Chevron Math Labels
Turquoise Chevron here

Lime Green Chevron Math Labels
Lime Green Chevron here

Gray Chevron Math Labels
Gray Chevron here

Blue Chevron Math Labels
Blue Chevron here


Divider 5


I have also been researching my family's geneology since my mother died in 2013. She had started the research in the year before she died and I want to finish it for her and our family. This week, I finished making notebooks for one of the lines. I put the line of ancestors in the front and some information about each person. It has been very interesting.


Thursday, July 30, 2015

Guided Math Part 3: Organizing Manipulatives

I have been working on my new classroom and took some pictures of how I am organizing my Math manipulatives and materials that the student can easily access. (I am still in the process of labeling all the bins.)


After reading more about Guided Math, I plan to add small labels to the shelves under the baskets so the students know where each bin should go.


The labels are from Schoolgirl Style.


Wednesday, July 29, 2015

Wordless Wednesday


I am in the process of switching rooms and grade levels. This is where I am planning to have the students turn in their completed work. 

Do you have a system for students turning in their work? Do they turn all work into one bin or do you have different bins for each subject/class?

I am linking up with Miss DeCarbo for Wordless Wednesday.

 Wordless Wednesday

Tuesday, July 28, 2015

Last Year's Classroom- Flashback

Here are pictures of the classroom I was in last year. I am in the process of working on my new classroom and was looking through these photos for inspiration. I am using some of the same fabric in the new room. Unfortunately, I don't have any windows though.


Monday, July 27, 2015

Monday Made It

Like most teachers, I have been busy making things for my classroom. Here are some of my "Made It"s.

Made It #1

Here is a picture of a chalkboard  I made for my Centers in my classroom.


I made two of them. They are made from a cabinet door. We recently remodeled our kitchen and I kept the cabinet doors.
To make the chalkboard, I painted the middle part with black chalkboard paint.

My cabinet door was already white. I  hot glued lime green ribbon (hard to see in the picture) where the black chalkboard paint met the white of the cabinet door to create a nice straight line. I also hot glued 2 clothespins to use if I want to hang a paper.


I removed the handle and hot glued some paisley pictures from the Schoolgirl Style set I bought. 
This hid the holes left after I removed the handle.


Made It #2

I bought a small child's toy box/bench at Goodwill last year for $4. It had been painted black. I wanted to give it a makeover to match my classroom. First, I put primer on it.


Then, I painted it lime green.

I painted the top of each post turquoise. Then, I glued a thick piece of foam to the top (recycled from another project). I covered the foam in fabric and stapled the fabric under the top.

I hot glued ribbon along the front and sides.


Made It #3


This is one of the Student Mailboxes I have had for years from Really Good Stuff. It was a dark green color on the outside. Since I am focusing more on lime green and turquoise in my classroom, I wanted to change it. I painted the outside lime green.


I hot glued a white border around the edges and a ribbon on top. I glued the words "Kids' Mail" to the top.


Here they are both together.


Sunday, July 26, 2015

Guided Math Part 2


I have been busy planning how I want my Math block to run for this new school year. Since I am moving up to 2nd grade from 1st grade, I want to make the Centers and small group time more challenging for the students.

With the help of the book Guided Math: A Framework for Mathematics Instruction, I have been outlining some changes and deciding which elements work well for me that I want to continue.

Since I am changing classrooms, I have been up at school several times arranging furniture and organizing. As I read Chapter 2 in this book, I was happy to realize I have already been doing several of the suggestions.

* "A numeracy-rich environment"- I have a lot of Math manipulatives and a Calendar/Focus Board area.
* "A social process"- I have already arranged the student desks in groups of 4 to facilitate collaborative learning.
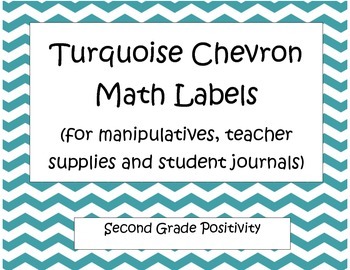
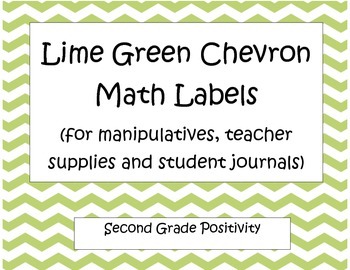
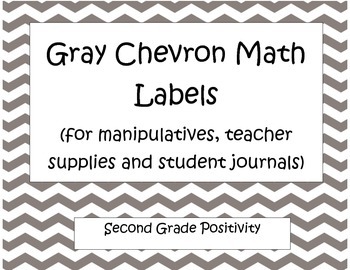
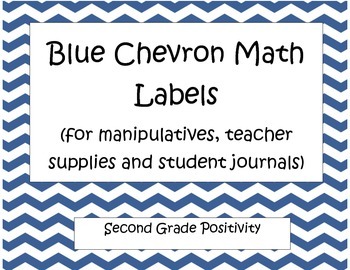
* "organized classroom environment"- I am still in the process of labeling many things in the room so the students know where to find what they need.
* I have a designated small group area. Students have their own desks where they can keep their personal supplies and group bins where they can keep their Math Journals and other supplies. I have a large bookshelf with lots of bins of Math manipulatives. I have 2 areas in the room with large rugs so we can do whole group lessons on the floor- one in front of the Smart board and one in front of the Calendar.
* Math Centers- I have a lot of Math Centers already prepared. Since I am moving up a grade, I will be adding to what I already have to go along with the second grade standards. I feel very comfortable managing Math centers, since I have done them for 18 years. Even when I taught 1st grade, I started them the first week of school. I put the students in pairs and we practiced one new center game a week for a few weeks until they knew enough games to rotate through the regular Centers.

This is one of the Centers I started with the past couple of years with my first graders. It is addition. They roll the 2 dice and add the numbers. Then, they color in a box above the sum. When a row gets to the middle, they get to color in the box with the picture in it. I have a lot of games in this same format, but using different skills. I made them to get more challenging throughout the year.
Here is a link to one of the games if you are interested. (Just click here)

Areas I want to be sure I prepare for:
* Each student needs their own Calendar that they work with daily. Since I already have binders for all the students, I will put a copy of a Calendar in all the binders.
* Problems of the Day/Week- I periodically had Problems of the Day, but I want to make sure I do them more regularly.
* Tools for measuring- I need to get some yardsticks and make sure to have the students regularly use the measuring tools. This is easy to carry over into Science, which I will also teach.
* Math-related literature- I have several Math literature books, but I want to have more available for the students. I also want to encourage them to write their own Math books.


Friday, July 24, 2015

Class Decor

Since I am changing classrooms and grades this year, I took this opportunity to change up my classroom decor "theme". Up until last year, I have always had a theme such as jungle, under the sea, sports, etc. Last year, I decorated in turquoise and lime green with some Hawaiian touches such as on the labels and a few decorations.

This year, I wanted to find something that would match with all the turquoise and lime green bins and other items I bought last year, but maybe a little different,

I decided on focusing on the Paisley, Turquoise, Blue and Green decor set from Schoolgirl Style.

I kept the turquoise and lime green elements I already had and have added some navy blue elements, including chevron borders.

Here are some pictures of what I have done so far:

I covered the computer table in navy blue chevron wrapping paper I found at TJ Maxx. It is a very thick paper. Then, I covered the wrapping paper with a clear plastic tablecloth and used turquoise duct tape to attach it to the table. (I'm still working on organizing the computer area.)

I have printed out banners for the bulletin boards from the Schoolgirl Style set I bought.I used a blue chevron border under a turquoise border. The background of each bulletin board is black cloth from twin sheets from Walmart ($4 each). 


I am going to hang up Student Work on this board. I stapled colored cardstock to the board. Then, I hot glued burlap clothespins to each paper. This makes it easy to change out the student work. Each clothespin has a strip of burlap on it. I bought the clothespins from Target. A pack of 4 was $1.


This filing cabing was already in the room. I added strips of the blue chevron border just to coordinate with the rest of the room.


Here is another picture of a banner I printed out.


This shows the edge of the Smart Board and part of the white board. The turquoise and green baskets are the students' Book Baskets. The numbers on the baskets are from the Schoolgirl Style set I bought. 

I'm still finishing up my room. I'll post more pictures as I go.I love the colors in the room! 


Blogging tips