Tuesday, August 11, 2015

Magic Tree House Reading Comprehension


My first and second graders have always loved the Magic Tree House Series by Mary Pope Osborne. For the past few years, I have used the series with my more advanced readers in first grade. I developed packets to go with many of the books in the series.

Each set has:
A Student Booklet with a Cover (12 pages long)
•1 page of questions for each chapter and one for a Book Preview and one for Thoughts about the book.
•Includes Reading Strategies such as Predicting, Schema, Text to Self Connections, Visualizing, Sequence, Compare and Contrast, Character and Setting, along with Comprehension questions about the story.

If you are interested, you can get the first set for FREE by clicking on the picture above. The sets are normally $3.50 each. I have made sets for books 1-8 and 17. I will be adding more packets in the next few months.

Enjoy!

Monday, August 10, 2015

Monday Made It

I guess I am lucky that  still have two weeks before school starts. We will get out later in June next year though.

Anyway, here are my Monday Made Its for this week.

 Monday Made It

I made labels for these bins in my class. Each of my 5 groups of tables will have this set up.This is to help organize all their materials.


I made this burlap wreath for my classroom door. The link to the tutorial I used is under the "DIY" tab at the top of this blog.


I made this banner to hang on the wall outside my room. The banner is printed from the Schoolgirl Style set I have been using to decorate my room. I added wooden letters to them. I hot glued tacks to the back of the wooden letters and pushed them through the paper banner to make sure they stay attached to the wall due to the extra weight, I also stapled the paper banner to the wall. The black material is actually a sheet from Walmart ($4).


I made a birthday printable to match my classroom. It is done in turquoise chevron and black and white. I am going to take pictures of the children who have birthdays in each month and glue the pictures in the white part of each month. If you are interested in this set, the picture has the link to this item in my Teachers Pay Teachers store.


I found this wooden Florida shape at Walmart. I painted it green and added our school's city to it. I put it on the small Social Studies board in my room.


Saturday, August 8, 2015

Preparing Interactive Math Journals

I have used Math Journals for 9 years. The ways I use them have changed over the years as I have become more comfortable with them. Now, I wouldn't know what to do without having them in my classroom.

I have been preparing my Math Journals to start the year. Since I am moving up a grade, I wanted to add to them this year since the children are older.

This is how I have prepared them.


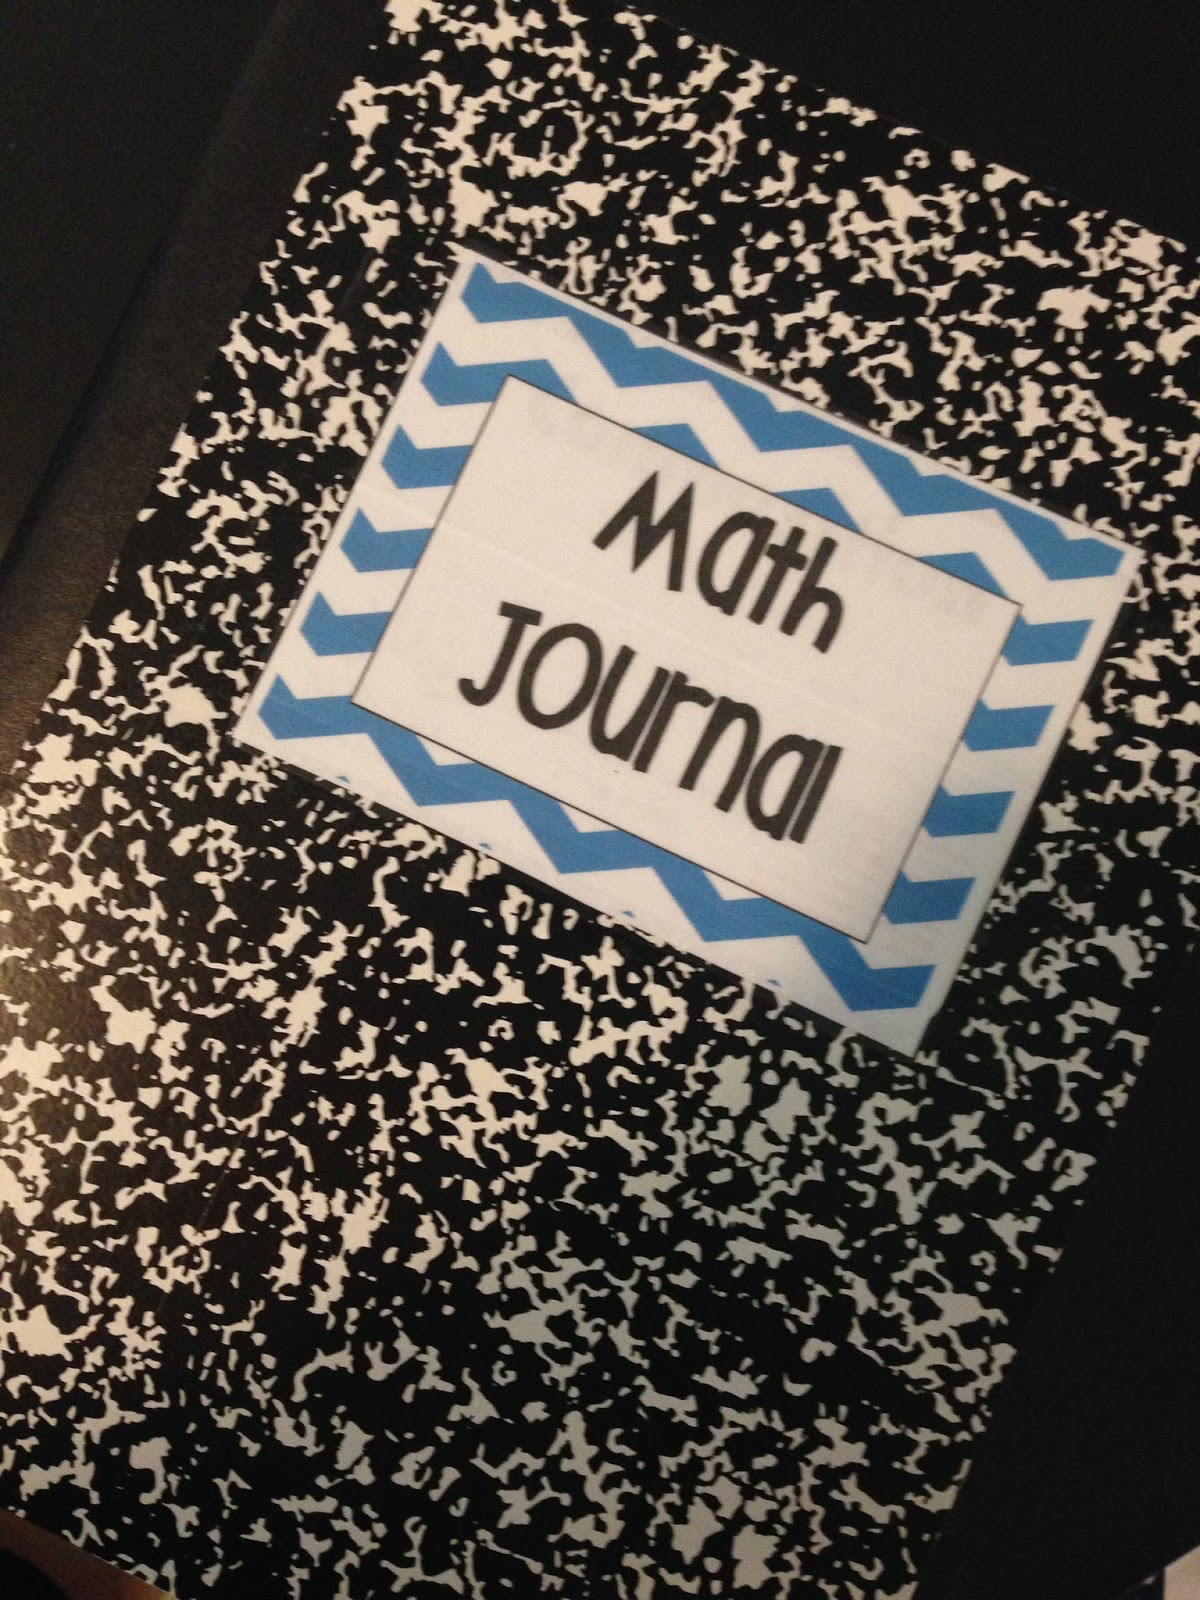
This year, I am using these composition books.Last year, I used spiral notebooks and they worked well. I am using the composition books because I had some left over and the room I moved into had a lot in there already so I didn't have to buy any. I printed a simple label for the front and taped it on.


On the back cover, I put a laminated Hundreds, Tens and Ones chart for the children to write on. I also stuck on a 100 chart sticker. I got the stickers from JoAnn Fabrics in their Teacher section. I got the Hundreds, Tens and Ones chart in the "Math Tools" set I bought on Teachers Pay Teachers. I printed it 2 to a page so they would be smaller.


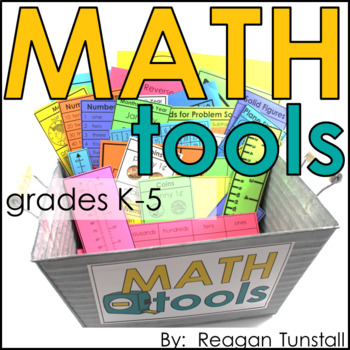
On the inside cover, I attached the Math Tub of Tools from a set by Reagan Tunstall. You can get to it on Teachers Pay Teachers by clicking here.

Math Tools

I am starting with the money and Odd and Even cards in the Tub of Tools. Money will be a review and our first unit will be on Odd and Even numbers. We will add more tools as the year progresses.


In the inside of the back cover, I used duct tape to attach ribbon to be used as a bookmark. This will make it easier for the children to keep track where their next page is.

This is how I have prepared the Math Journals. Since I teach two Math Blocks, I have made 42 of them. It took a while, but we will be well prepared to start the year right off with our Math Journals.


Friday, August 7, 2015

5 for Friday

fiveforfriday2_thumb[3]


Divider 1


I got my Math Journals together and labeled. I taped ribbon in them this year for a bookmark. Maybe this will help the kids be able to find their page easier.


Divider 2


I updated my Teacher Toolbox with a freebie from Miss Sammi on Teachers Pay Teachers.


Divider 3


I put over 300 lollipops on this for my classroom. It came out larger than I thought, but it will last for a while.


Divider 4

I went up to my room this week to try and get it mostly ready since I switched rooms this summer. I still have next week off (mostly, one day of training). Here is a picture of my room.


Divider 5

I added vinyl words "Today is..." to my white board. I'm going to write (or have the kids write) the date under the words. I got the words from Etsy.

Wednesday, August 5, 2015

Starting Math Workshop


     I have taught Math using this Math Workshop (or Math Centers) format for the past several years. I have found that this works well for me and my style of teaching. Here are some things I do to help get my Math Workshop time running smoothly.

First Week of School
     The first day of school is always crazy. Usually, for Math, we make a class graph of “How We Came to School”. That is usually the extent of Math for the first day of school since we are going over rules and procedures. Before we make the graph, I read the book This is the Way We Go to School by Edith Baer and Steve Bjorkman.


 Product Details


    Here is a picture of the graph my class made last year.

We also made a class graph of which hand they write with on the second day of school.


     From the second day of school to the fifth day, the students explore our Math Tools after our whole group Math lesson. My students sit in groups, so I leave them in these groups for this week.
     I give each group a bucket of one of our Math Tools. Usually, I only pull out the cubes, geoblocks (wooden 3D shapes) and pattern blocks. So, two groups start with cubes, two groups start with pattern blocks and one group starts with the geoblocks. I don’t give any real directions. I just want them to explore the materials. I do tell them not to throw them and they must keep them on the tables. They have to stay with their group.
     For the following two days, I rotate the materials to different tables. On the last day of the week, I set out the materials and they can choose which one they would like to explore.
     During the time the students are exploring the materials, I am able to pull individual children for short assessments.

Second Week of School
     During the second week of school, after our whole group Math lesson from the curriculum, I introduce two Math Games to the whole class. (I choose Math Games that go along with our current Math lessons or that should be a review.) Here is a brief schedule of how I get them to be independent with these games.

Monday  I introduce the Math Game to the whole class. I always start with a partner game to help the students get to know each other. I model the game using my Elmo (document camera). We go over the rules to the game, as well as, rules for playing partner games. Then, they play the game with their partner as I walk around the room helping as needed.
Tuesday We review the same Math Game. I give the students a new partner. We go over the rules of working with a partner. They play the game as I walk around and help as needed.
Wednesday I introduce the second Math Game for this week. It is another partner game. I model the game then review the rules. They play the game with their partner as I monitor.
Thursday We review the Math Game. The students play the game with a new partner as I monitor.
Friday This is when we actually practice Math Centers. I put out both games at different tables. Half of the students play the first game and the other half play the second game. The students move to their assigned table (center). They play the game until it is time to switch centers. Then, they make sure they clean up their centers and move to the other center.
     Since this is the first time the students are moving to different centers, I don’t try to work with individual students at my table. I walk around and monitor.

Third Week of School
     Since the students have now learned two Math Games, we can start our Math Workshop/Centers. For me, it works best to have the students only go to one Center a day. I have found that they are able to get more involved in  the Center and I don’t have to set up for as many Centers during the week.
Monday I introduce a new Math Game/Center. Then, I introduce the Math Workshop board that will tell them which Center they go to that day. They go to their Center. The Center time on Monday will be shorter due to the time it takes to introduce the new game. I try to have 5 Centers a week. Since I have only introduced 3 Math Games so far, I have some of the children go on the computers for a Center and/or have more students at a Center than I normally would have there.
Tuesday-Friday The students go to a different Center each day. On Friday of this week, I usually let the students choose which Center they want to go to since I don’t have 5 Centers set up yet.

Fourth Week of School
     This week, we start our full rotation of Math Workshop/Centers. I introduce 2 new Math Games/Centers on Monday so that we have our full 5 Math Centers this week. The students will go to one Center a day according to the chart I have set up. I monitor the students and move the students to different groups as needed.
     I try to get my small groups pulled to my table as well. I don’t make the Teacher table a part of the Center rotation. I call the students out of their Centers when I need them for my group. I do this because my groups change frequently based on students’ needs.


Monday, August 3, 2015

Monday Made It


I am excited to link up with 4th Grade Frolics again for "Monday Made It".
 Monday Made It


I hung these in my class computer area. The sign that says "computers" is a recycled wood picture. The larger piece is a 10"x14" canvas. The 2 smaller pieces are cardboard shapes I got from Hobby Lobby. I painted all of them with chalkboard paint. I glued on labels from Schoolgirl Style and added 2 tissue paper flowers, ribbon and clothespins. I am going to hang the daily computer schedules on the signs.


The picture is from Schoolgirl Style. I mod podged it onto a canvas that I painted turquoise. I hung this on a cabinet in my class.


I found this "friends" cardboard sign at Hobby Lobby. I painted it turquoise and hung it above the sink area in my class. I painted a canvas and glued clothespins on it. I plan to hang pictures of the children in the class on the canvas throughout the year.


I made the "Class Jobs" sign by gluing a cardstock paper onto a cardboard shape i got from Hobby Lobby.


I am going to use these drawers to help organize my Guided Math groups. I found 3-drawer bins that are larger than the others I have. They hold scrapbook paper so they are about 12" x 12". I think the larger size will be better since I like to keep manipulatives and other materials together with papers I need for each group.


Since I will teach Math to 2 different blocks of students, I got two bins (one for each group). They can stack together.


Saturday, August 1, 2015

Teachers Pay Teachers Sale!

This is just a quick post to let you know about the Teachers Pay Teachers sale which starts on Monday.

Be sure to visit and see all the wonderful products teachers have for sale.

Here is a link to my store. Everything is 20% off and another 10% off with the code: BTS15
Second Grade Positivity
 
Blogging tips